I like accessories especially the handmade with artwork. Previously, I bought quite a lot of earrings and rings and necklaces with artsy statements on it. However, nothing beats creating my own. When this class was shown, I was excited to finally start making some wearable art… a simple one like the paper brooch. Following the tutorial, this is how I create my own rose paper brooch.
You will need:
- watercolor paper or cardstock for your design
- any kind of mediums you wish to try (waterproof markers, pens, paints)
- cardboard
- decorative cardstock paper
- glue and super glue
- scissors
- brooch pin
- brush
- Mod Podge or clear nail polish
Steps:
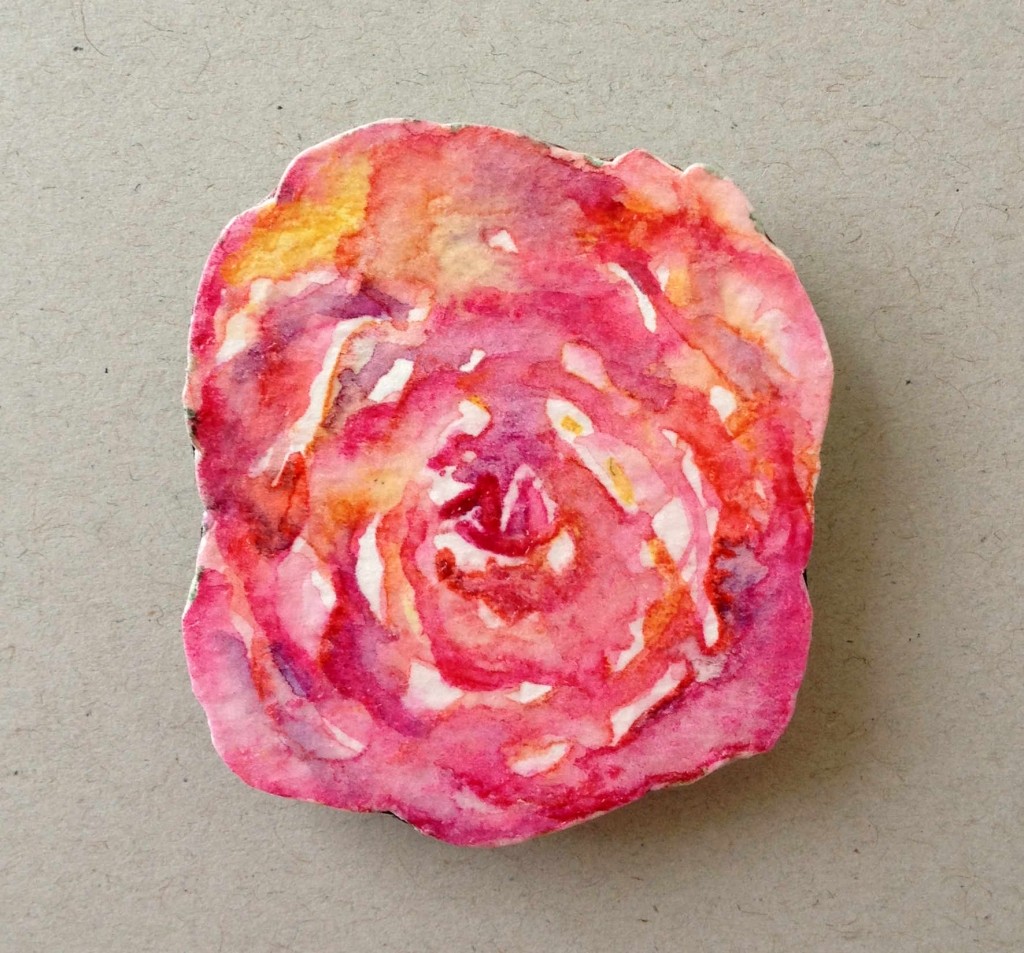
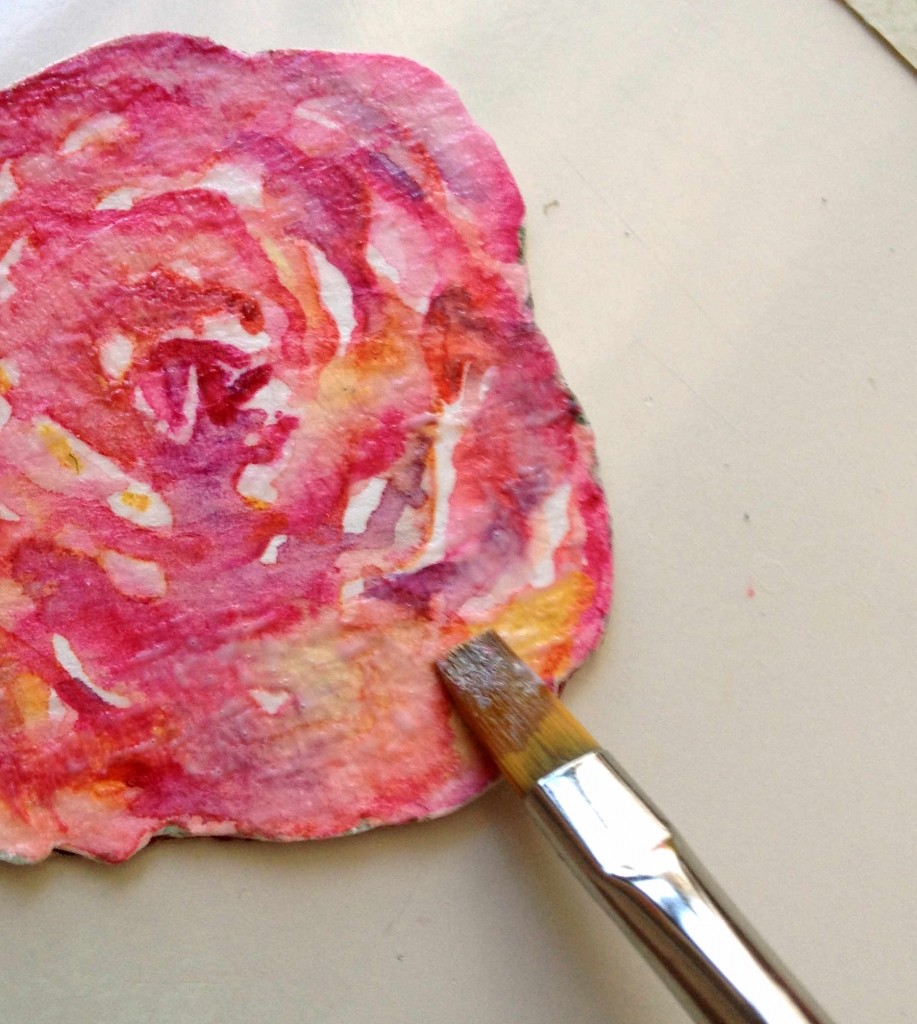
Start by painting a rose using watercolor paints on watercolor paper and cut out its shape.
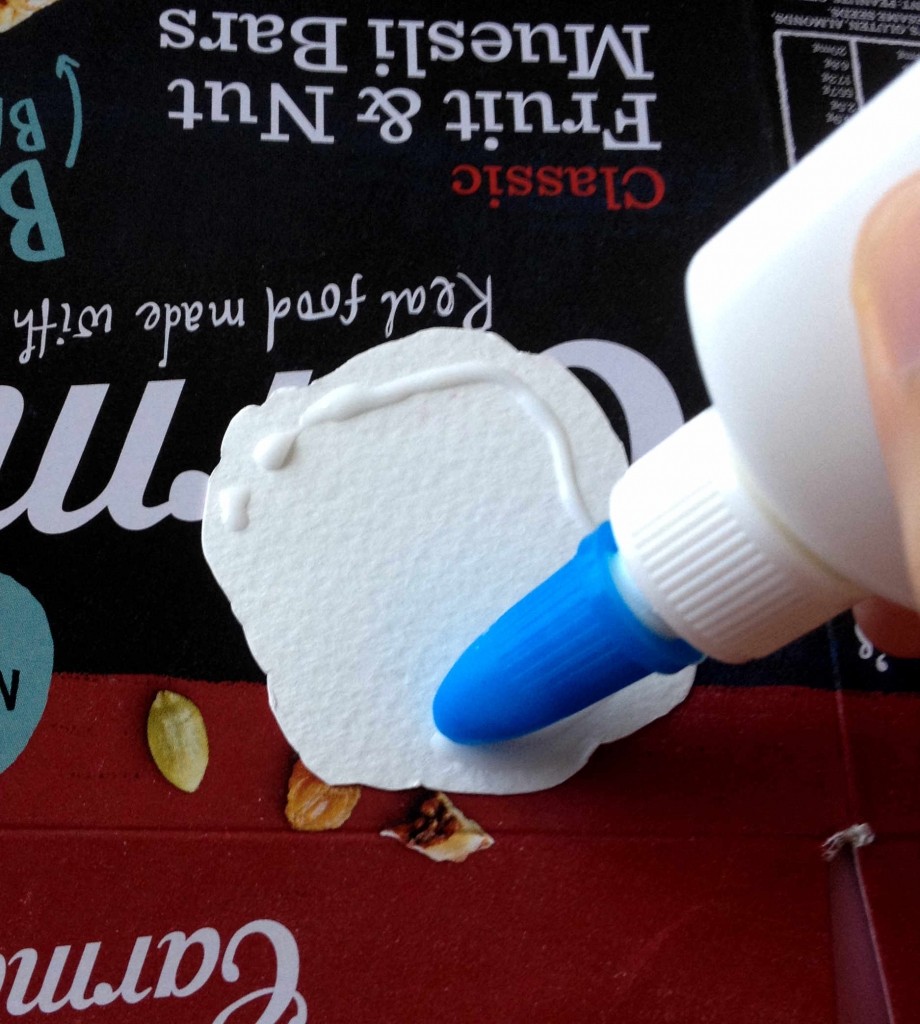
To make the paper brooch sturdy, turn the cut rose on its backside, put glue then stick it on a piece of cardboard then cut it out again.
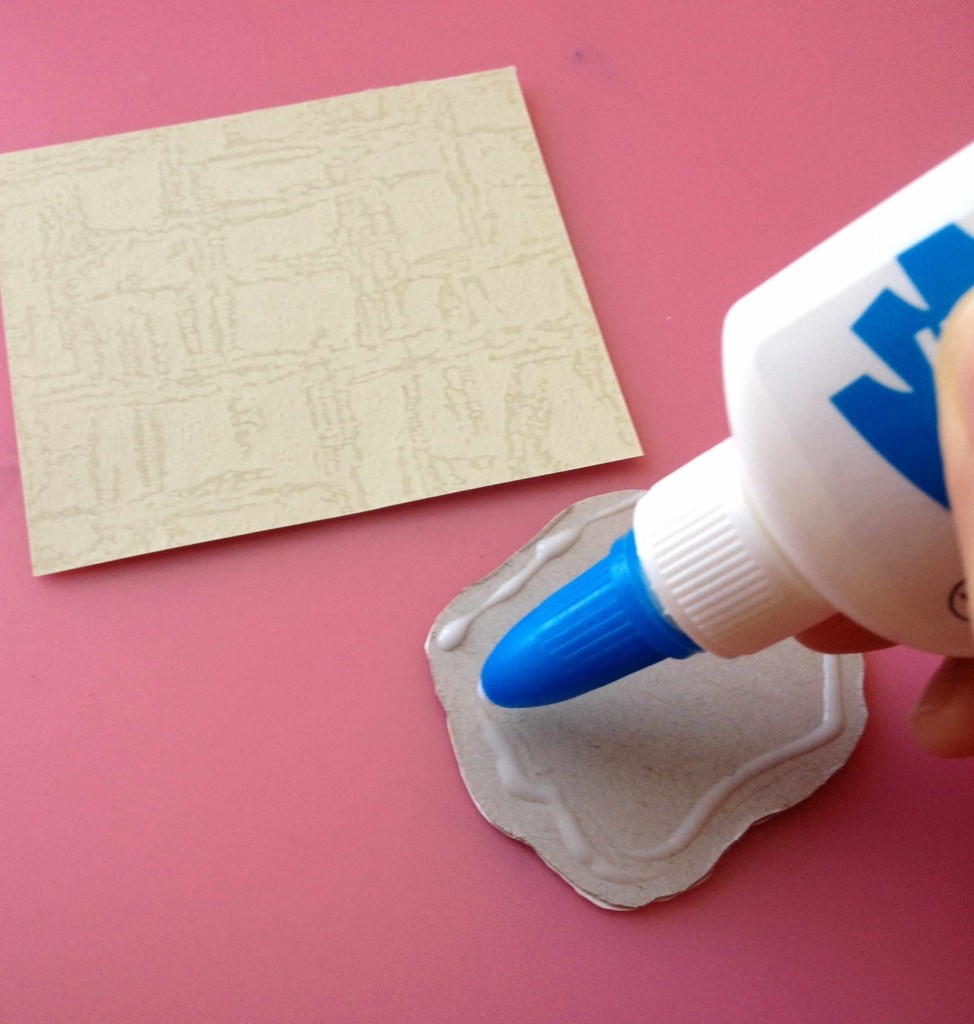
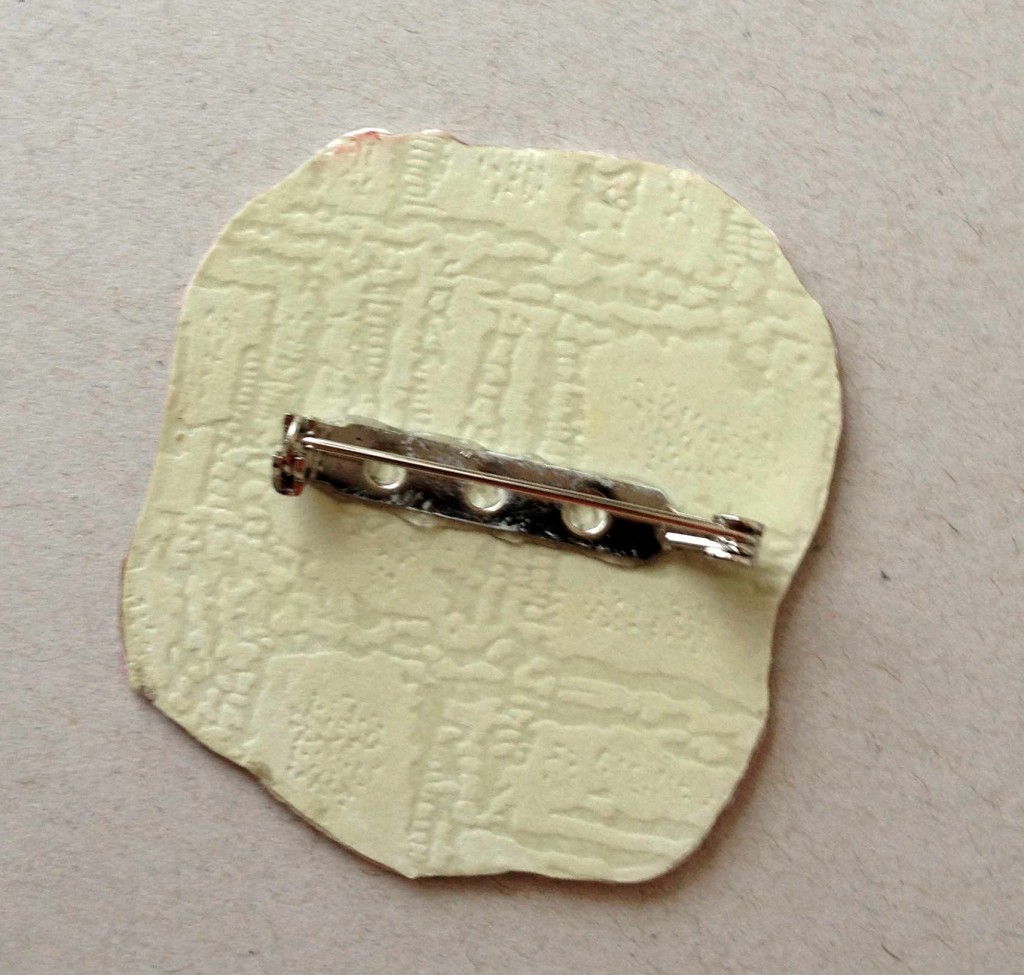
Turn the rose on its cardboard side, put glue then stick any kind of decorative paper (preferably cardstock).
Apply Mod Podge in front, behind and the sides to protect the painting. Use a brush or sponge and gently dab on the surface NOT brush it left and right because it may smudge the watercolor paint (not water resistant).
Use any kind of super glue to stick the brooch pin on the back of the paper art.
Now my rose paper brooch is ready to adorn my shirt!
A free ebook that helps you create expressive sketches of your life in pen and watercolor.

Leave a Reply